Thule roof rack takes center stage as the go-to solution for adventurers and outdoor enthusiasts seeking to maximize their vehicle’s cargo capacity. Designed with innovative features that set them apart from the competition, Thule roof racks are made from high-quality materials that ensure durability and reliability. With impressive weight capacities and smart load distribution, they’re perfect for everything from bikes to kayaks, making them an essential addition for anyone wanting to hit the road or the trails with ease.
In this guide, we’ll walk you through everything you need to know about Thule roof racks—from their standout features and installation processes to maintenance tips and must-have accessories that enhance their functionality. Whether you’re a seasoned pro or a first-time user, we’ve got you covered with all the insights you need to get the most out of your Thule roof rack.
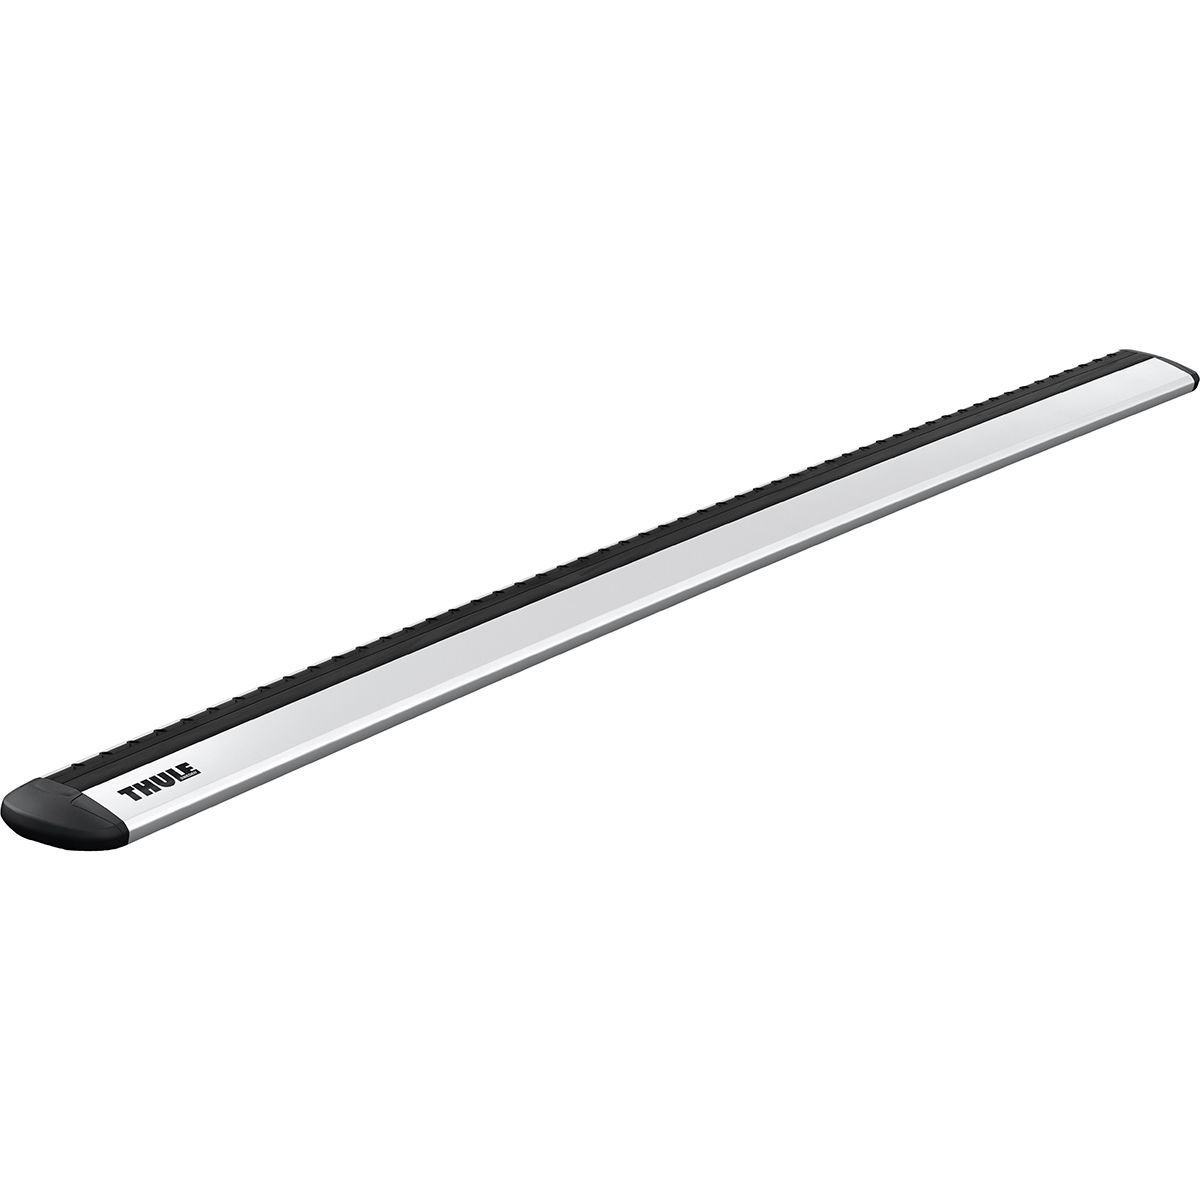
Features of Thule Roof Racks
Thule roof racks are designed with a combination of practicality, durability, and user-friendliness in mind. This makes them a popular choice among outdoor enthusiasts and everyday users alike. The unique features of Thule roof racks set them apart from competitors, offering reliable solutions for transporting gear and equipment securely.
One of the standout features of Thule roof racks is their versatility. They come in various designs, compatible with an extensive range of vehicles, and can accommodate different types of gear, from bikes and kayaks to ski equipment and cargo boxes. Additionally, Thule roof racks are engineered for ease of installation, often featuring a straightforward clamp and lock system that minimizes setup time while ensuring a secure fit.
Materials Used in Thule Roof Rack Manufacturing
Thule places significant emphasis on the quality of materials used in manufacturing their roof racks, which contributes to their longevity and performance. The primary materials include high-strength aluminum, high-grade steel, and durable plastic components.
– Aluminum: Lightweight yet strong, aluminum is often used in the construction of Thule roof racks due to its resistance to corrosion and ability to handle heavy loads without warping. This contributes to the racks’ overall durability, ensuring they withstand harsh weather conditions and varying terrains.
– Steel: Certain components, like the locking mechanisms, may utilize high-grade steel for enhanced security and strength. The use of steel ensures that critical parts are robust, which is essential when carrying valuable gear.
– Plastic: Durable polymer plastics are employed for end caps and other fittings, providing a lightweight solution that does not compromise on strength. These materials are designed to resist UV rays and extreme temperatures, preventing degradation over time.
Weight Capacity and Load Distribution of Thule Roof Racks
Thule roof racks are engineered to support significant weight, ensuring safe transportation of various items. The weight capacity typically ranges from 165 lbs to 250 lbs, depending on the specific model and configuration.
Understanding load distribution is crucial when using these racks. Thule designs their products with integrated load bars that evenly distribute weight across the rack system. This design feature minimizes the risk of damaging the vehicle or the rack itself while enhancing stability during transit.
– Weight Distribution: Proper placement of gear ensures that weight is evenly balanced. For example, when loading bikes, placing heavier bikes closest to the vehicle can improve stability, preventing sway and shifting during travel.
– Dynamic Load Testing: Thule conducts rigorous testing to guarantee that their roof racks perform well under dynamic loads, simulating real-world driving conditions. This testing ensures that users can travel confidently, knowing that their gear is securely held in place.
Overall, Thule roof racks stand out not only for their innovative designs and user-friendly features but also for their robust materials and impressive load capacities, making them a favorite choice for anyone looking to enhance their vehicle’s carrying capabilities.
Installation Process of Thule Roof Racks

Installing a Thule roof rack can seem daunting at first, but the process is straightforward when broken down into manageable steps. Whether you’re tackling your first installation or you’re a seasoned pro, understanding the specific installation process for different Thule models can help ensure a secure and efficient setup. Follow this guide to get your roof rack ready for your next adventure.
Thule roof racks come in various models, each with unique installation requirements. Below, you’ll find a detailed step-by-step process for installing several popular Thule roof rack models, along with a list of essential tools and important safety precautions to keep in mind throughout the installation.
Step-by-Step Installation Process
To help you navigate the installation of your Thule roof rack, here’s a structured approach tailored for different models. This guide generally applies to the Thule AeroBlade, Thule SquareBar, and Thule Rapid Crossroad models.
1. Preparation:
– Gather all components from the Thule roof rack kit, including crossbars, feet, and any necessary hardware.
– Inspect your vehicle’s roof to ensure it is clean and free of any debris.
2. Assembling the Rack:
– For models with separate crossbars and feet, begin by attaching the feet to the crossbars. All models typically include specific adapters for different vehicle types, so refer to the manual for guidance.
– Tighten screws firmly, but avoid over-tightening, which could damage the components.
3. Positioning the Rack:
– Place the assembled roof rack on top of your vehicle’s roof. Ensure it’s evenly centered from side to side.
– Use a measuring tape to confirm that both crossbars are parallel and positioned at the appropriate distance based on your vehicle manufacturer’s specifications.
4. Securing the Rack:
– Depending on the model, you may need to use specific clamps or brackets to attach the rack securely to your vehicle. Follow the instructions closely.
– Tighten all the hardware according to the torque specifications Artikeld in the installation manual.
5. Final Adjustments:
– After securing the rack, check for any wobbling. If you notice any movement, revisit the tightening of the hardware.
– Conduct a final inspection to ensure everything is securely fastened before loading any gear.
Essential Tools for Installation
Having the right tools on hand can make the installation process smoother and more efficient. Here’s a list of essential tools commonly required for installing Thule roof racks:
– Socket Wrench: Useful for tightening bolts to the appropriate torque.
– Phillips and Flathead Screwdrivers: Necessary for various screws and fasteners.
– Measuring Tape: To ensure proper bar placement and alignment.
– Level: Helps confirm that the rack is installed evenly.
– Safety Glasses: Protect your eyes while working with tools.
– Rubber Mallet: Useful for gently tapping components into place without causing damage.
Safety Precautions During Installation
Safety should always be a priority during the installation of any roof rack. Follow these precautions to ensure a safe and hassle-free experience:
– Work on a Flat Surface: Choose a stable and flat location to perform the installation to prevent accidents.
– Secure the Vehicle: Ensure the vehicle is parked securely with the parking brake engaged to avoid any movement.
– Use Reliable Equipment: Always use tools that are in good condition and appropriate for the task.
– Follow Instructions: Carefully read and follow the installation manual for your specific Thule model.
– Check Load Limits: Be aware of the load capacity of your vehicle and roof rack to prevent overloading.
By adhering to these steps and precautions, you can confidently install your Thule roof rack and prepare for your next adventure.
Maintenance and Care for Thule Roof Racks
Proper maintenance of Thule roof racks is essential for ensuring longevity and optimal performance. By following a few simple guidelines, you can keep your roof rack in top shape, reducing the likelihood of issues and enhancing your overall experience. Regular care not only provides peace of mind but also enhances the safety and security of your gear.
Regular inspections and maintenance routines can prevent common issues that may arise with Thule roof racks. Here are some key strategies to maintain your roof rack effectively.
Inspection and Cleaning Procedures
Performing regular inspections and cleaning is critical to maintain the integrity of your Thule roof rack. This ensures that your rack remains safe for use and can hold your gear securely throughout its lifespan. Here are some steps to follow:
– Visual Inspection: Regularly examine all components for signs of wear and tear, such as rust, cracks, or loose fittings. Pay close attention to the mounting hardware and locking mechanisms.
– Cleaning: Use mild soap and warm water to clean the roof rack, removing dirt and debris. Avoid harsh chemicals that may damage the finish.
– Drying: After cleaning, ensure that the roof rack is completely dry to prevent corrosion, especially in joints and crevices.
– Lubrication: Apply a silicone-based lubricant to moving parts and locks to keep them operating smoothly.
Troubleshooting Common Issues
Even with routine maintenance, some issues may arise with your Thule roof rack. Here are common problems and their solutions:
– Loose Components: If you notice rattling or movement, check the tightness of all bolts and fittings. Use a torque wrench to ensure they are tightened to the manufacturer’s specifications.
– Corrosion: If you discover signs of rust, use a wire brush to remove the rust and apply a suitable rust-inhibiting paint to protect the metal.
– Damaged Straps or Pads: Inspect straps and rubber pads for wear. Replace them if you notice any fraying or cracking to maintain a secure hold and protect your gear.
Importance of Regular Inspections, Thule roof rack
Conducting regular inspections can prevent minor issues from escalating into significant problems. It is recommended to check your Thule roof rack:
– Before and after long trips
– After heavy use or exposure to harsh weather conditions
If you encounter persistent issues that you cannot resolve yourself, it’s advisable to seek professional assistance. This can include consulting with Thule-certified service centers or local experts who specialize in vehicle accessories.
Regular maintenance not only extends the life of your Thule roof rack but also ensures that your gear is safe and secure during transport.
Thule Roof Rack Accessories
Thule roof racks not only provide a robust platform for transporting gear, but they can also be enhanced with a variety of accessories that maximize their functionality. These accessories are designed to cater to different outdoor activities and lifestyle needs, making your roof rack an even more valuable asset. Whether you’re a weekend warrior or a daily commuter, Thule has something that can elevate your experience on the road.
Among the many accessories available for Thule roof racks, some of the most popular include bike racks, cargo boxes, kayak carriers, and ski carriers. Each of these accessories is engineered to fit seamlessly with Thule roof racks, ensuring strong compatibility and ease of use. Below is a closer look at some standout accessories that can help you get the most out of your roof rack setup.
Bike Racks
Thule’s bike racks are designed to securely hold your bicycles during transit, allowing you to focus on the ride ahead rather than worrying about your gear. Options include platform-style racks that hold the bike by the wheels and frame-mounted models that are lightweight and easy to use.
- Thule T2 Pro XT: This platform rack is known for its ease of loading and unloading, thanks to its tilting feature that provides access to the rear of the vehicle. It can carry up to two bikes with a weight capacity of 120 lbs, making it great for family outings.
- Thule Helium Pro: At only 14 lbs, this lightweight hitch rack is ideal for those who want a simple, easy-to-handle option. It easily fits a variety of bike styles and sizes while being highly portable.
Cargo Boxes
Cargo boxes are perfect for transporting extra luggage or outdoor gear when you need more space. Thule’s cargo boxes come in various sizes and styles to suit different vehicles and needs.
- Thule Motion XT: This aerodynamic cargo box boasts a capacity ranging from 16 to 22 cubic feet, making it versatile for all kinds of trips. The dual-side opening feature provides easy loading and unloading from either side of the vehicle.
- Thule Force XT: Offering great value, this box is designed for optimal space efficiency and ease of use, with a capacity between 11 to 18 cubic feet. It features a secure locking system for peace of mind during travel.
Kayak Carriers
For water sports enthusiasts, Thule’s kayak carriers provide a safe and secure way to transport your kayaks to the water. They are designed to accommodate different kayak shapes and sizes while ensuring stability.
- Thule Hullavator: This innovative carrier allows for easy loading and unloading, as it features a gas-assist lift system that brings the kayak down to waist height. It can hold up to two kayaks, making it perfect for couples or families.
- Thule Top Deck: A more traditional option, this carrier is lightweight and designed to secure the kayak at the hull. It’s simple to install and can hold a wide variety of kayak shapes.
Ski Carriers
Ski carriers from Thule are built to hold your skis or snowboards securely while you head to the slopes. They come with features that cater specifically to winter sports enthusiasts.
- Thule Snowpack: This ski and snowboard carrier can hold up to 6 pairs of skis or 4 snowboards and features a universal mounting system for easy installation on most roof racks.
- Thule SkiClick: This compact ski carrier is designed for those who need a lightweight option. It holds up to 4 pairs of skis and is easy to install and remove when not in use.
When comparing these Thule accessories to those from other brands, Thule often stands out for its durability, ease of use, and innovative features. Many competitors may offer similar products, but Thule’s focus on quality materials and thoughtful design tends to result in a more reliable product. For instance, while some brands might provide basic functionality, Thule’s emphasis on user-friendly features like tool-free installation and enhanced locking mechanisms gives it an edge in the market. Investing in Thule accessories means not only acquiring gear that complements your roof rack but also prioritizing safety and ease during your outdoor adventures.
If you’ve ever seen Fiddler on the Roof , you know it beautifully captures the struggles of a Jewish family in early 20th century Russia. The themes of tradition and change resonate deeply, reflecting how cultural practices shape our lives. Similarly, when it comes to roofing, choosing the right materials, like a tin roof , can greatly affect durability and style, blending tradition with modern needs.
Speaking of roofs, a classic option like a tin roof can add both character and longevity to any home. It’s interesting how roofing choices evolve, just like the themes in Fiddler on the Roof. This musical reminds us of the importance of adapting to change while respecting our roots, which is exactly what we aim for when selecting the perfect roofing material.